| Before starting, please connect to the WiFi Hotspot of your ZenCharger. A manual for this can he found HERE
Once connected, got to the web interface by surfing to 172.16.0.1
Enter the password and click on ‘Sign in’ |
|
| Once in the Webinterface, click on the 3 stripes (or if on a computer, click directly ‘Smart Charging‘) and press ‘Smart Charging‘ |
|
| By Default, the strategy will be on Default (off).
Press the arrow button and select ‘Scheduled‘ |
|
| Everything will be blue, this means that it can charge at all the ours.
Please uncheck the ours that are not relevant. (Only the ours that are BLUE, are active for charging) In the example of this screenshot, our charging point will charge the car in the week between 00:00 and 06:00. After that time, the charging will stop. In the weekend, it will be until 08:00. This way, you can come home at for example, 19:00, plug the car in, badge and it will not start charging but be in standby mode until in our example 00:00. You can also select 22 of 23:00 for example.
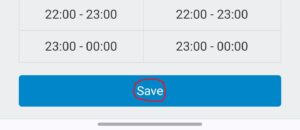
Once configured, click ‘Save‘ |
|
| Please click on the 3 stripes again and logout.
Do not forget to connect to your home WiFi again otherwise you do not have internet access on your phone. |
|
| As an extra, you can also change the LED brightness or Volume in ‘General’
PLEASE DO NOT CHANGE ANY OTHER CONFIGURATION SETTINGS |
|
